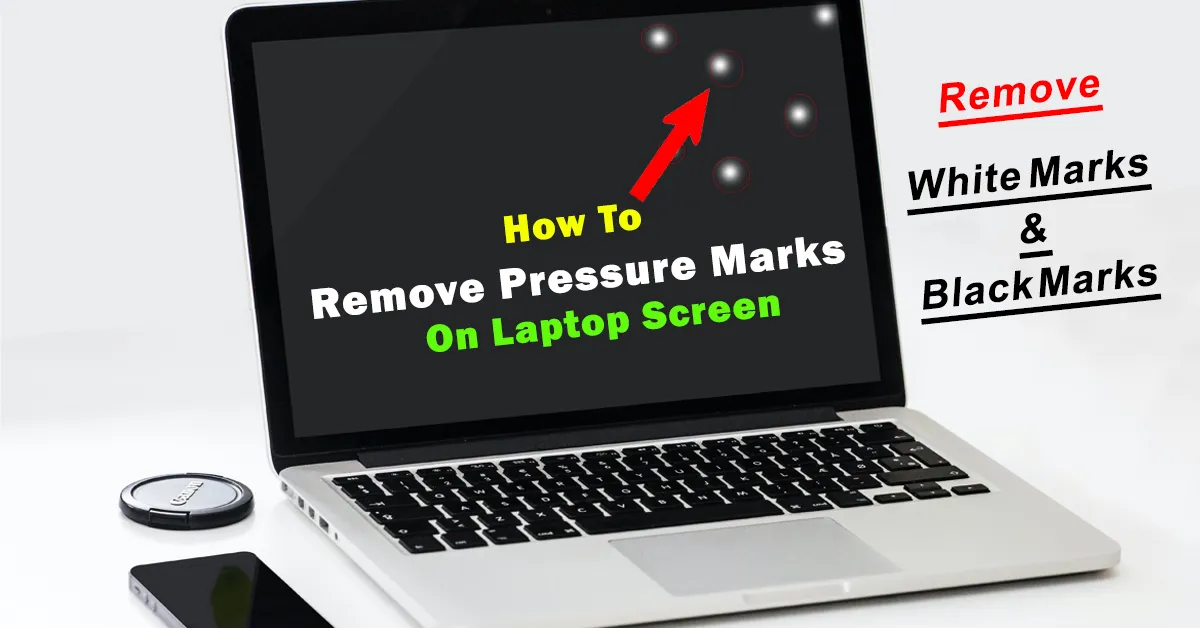
Are you worried about pressure marks on laptop screen? Don’t worry! It is a common problem, and you can get rid of it with fewer steps.
The main concern is how to remove pressure marks on a laptop screen. Pressure marks might be in black or white spots on your screen that you want to remove. You may have some black lines or blotches and dead pixels, which are increasing day by day.
Before thinking about replacing a laptop screen, apply some easy methods that can ultimately save you the cost of buying a new laptop, monitor, or TV screen. Let’s cut to the chase and find methods for removing pressure marks from laptop screens.
Pressure Mark on Laptop Screen
Marks on a laptop screen usually transpired due to pressure on the screen. The screen is susceptible and made up of liquid crystals. Any disruptions in the liquid by even 1-2 PSI of pressure can cause marks. These marks can be white or black, depending on the situation we can propose a remedy.
Black Marks on Laptop Screen
Black spots on screen are caused due to many reasons; pressure, high temperature, excessive humidity, physical hit, or any manufacturing defect. In such cases, a black spot comes on the screen. Such a black spot increases in area with time when more pressure is put on that mark.
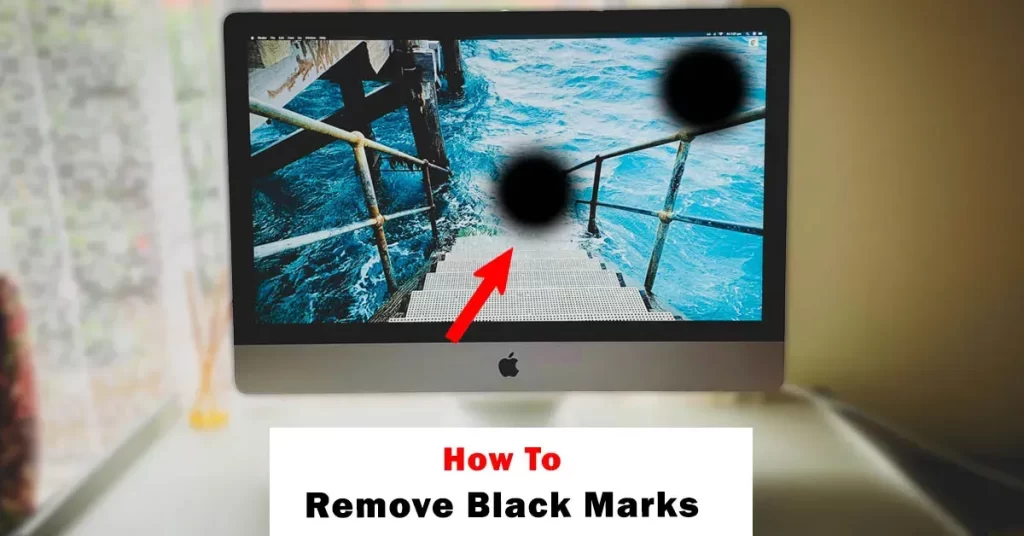
Black marks on screen vary significantly in size and appearance. Tiny black dots are called dead pixels on the screen, while larger ones are known as smudges that ruin the visibility of the screen of a laptop. Now the question is how to remove black marks on laptop screen.
Black defective pixels can be cleared only if they are temporary. In most cases, black spots occur due to solid reasons i.e. screen damage, too much load on the screen, high pressure, falling from a height, etc., which cause permanent black marks on the screen. Meanwhile, you can take a few steps to overcome the issue:
Step 1: Change PC Settings
There may be multiple black marks on the screen that are not visible due to low brightness. Increasing or decreasing the resolution can also mitigate the problem. Hence, change some settings in the Windows Settings.
In Windows Settings, tab on Display Box. Here you can play with many settings for confirming the real problem. Increase or decrease the brightness of the screen. Increase or decrease the scale and display resolution of the screen. If the spots are still there then try a software to resolve the issue.
Step 2: Pixel Fixing Software
There are various pixel repair software that are helpful in repairing pixels. “JScreenFix” is one of the best software programs for fixing pixels within 10 minutes. It is designed to identify small black pixels.
It must be noted that it can only repair black pixels to some extent. Its major function is to locate the dots by fluctuating the intensity of light. It displays dirty little black spots when you want to clear even small spots. Anyhow, at least try it for once, otherwise try manual methods.
Step 3: Manual Pressure
Sometimes the problem is very small which can be solved with a soft cloth. At the dead pixel spot, apply pressure gently by using a soft cloth. Don’t apply excessive force, otherwise, it can cause more consequences.
Moreover, while applying pressure, you can also try making small circular motions over the dead pixel. This can help stimulate the liquid crystals in different directions. Notice a change in the pixel’s behavior, and complete the process.
Step 4: Pressure and Heat
Apply pressure with a light warmth at the area around the dead pixel for about 10-15 seconds. Overheating can permanently damage the screen, so it’s crucial to maintain a safe temperature i.e. lowest heat setting.
Pixel revival may not occur immediately. It may take several attempts over an extended period to see any improvement. Be patient and avoid applying excessive force or heat.
Step 5: Open and Repair
If this pressure and heat method fails or does not yield results then repair it by opening the screen, and cleaning the inside. If you are uncomfortable to open by yourself, then consider seeking professional help or consulting the manufacturer, especially if your device is still under warranty.
White Marks on Laptop Screen
White pixels on laptop screens are also known as stuck pixels that appear as bright white dots on the screen. In contrast to black spots, white spots on the screen are easy to handle or temporary most of the time. Anyway, these white marks still frustrate and affect the viewing experience during laptop usage.
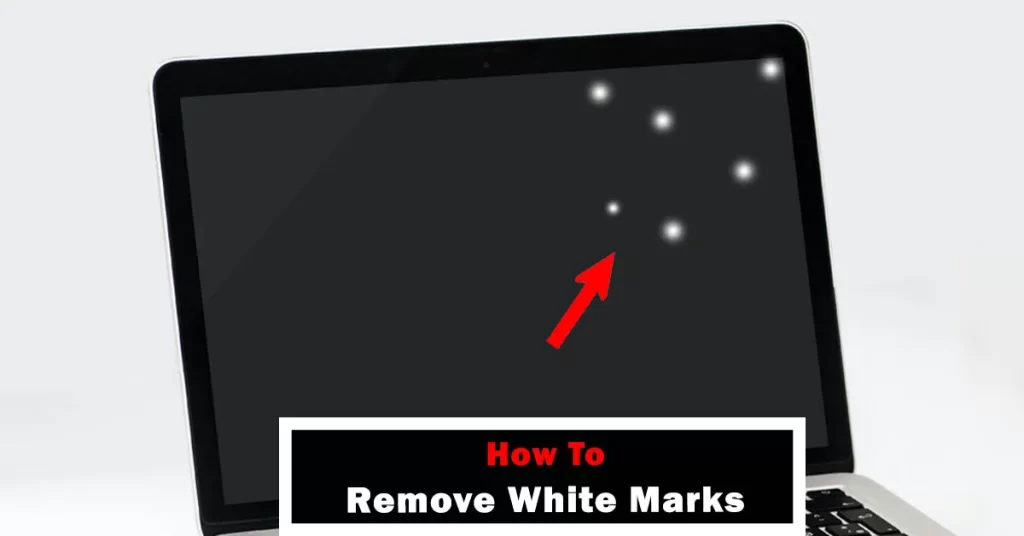
There are multiple causes for white spots on the laptop screen i.e. physical damage due to a hit, small dust particles in excess, software or driver issues, magnet nearby, moisture or liquid contact, or pressure mark. Now the question is how to remove white marks on laptop screen.
Furthermore, one of the reasons for the white spot could be the issue with the lens of the screen. Due to loose LED reflectors screen displays a white spot or multiple small or larger spots. But don’t worry at all! These white spots can be solved with a few steps:
Step 1: Fix Stuck Pixels
Stuck pixels can often be resolved through gentle massaging, which involves applying slight pressure to stimulate pixel activity. Approximately 60-80% of stuck pixels can be successfully fixed using this method.
First of all, increase brightness so all the white spots would be shown on the screen. Press softly with a rubber or a soft cloth. Then reboot the laptop. Power on your laptop and check the screen to see if the stuck pixel has been resolved. Verify that the pixel is displaying the correct color.
Step 2: Software and Driver Settings
Outdated or conflicting graphics drivers can impact screen display. Ensuring drivers are up to date can significantly improve screen performance. Graphics driver updates have been known to resolve up to 40% of screen display issues.
Begin by verifying the current version of your laptop’s graphics drivers. Then download the latest graphics driver updates available for your specific model. Adjust display settings and color calibration. Go for professional assistance from a technician if the spots are still there.
Step 3: Fix Loose LED Reflectors
Loose LED reflectors are an internal issue and should be handled by professionals. Attempting to fix this without expertise can result in further damage. In cases of loose LED reflectors, professional repairs are the most effective solution, with a success rate of nearly 95%.
First of all, locate loose LED reflectors or any other damaged components precisely after careful opening. If reflectors are damaged replace them with new ones. Power on the laptop and test the screen with color calibration.
Step 4: Fix Pressure Damage
Laptop LCD Pressure Damage can manifest as white spots and may vary in severity. Assess the extent of damage to determine if it’s affecting screen functionality. Mild pressure damage can often be improved by nearly 70% through careful handling and minimal repairs.
In the first place, pressure marks are only recoverable if they are very light or small. Don’t use excessive force or harsh rubbing. Use circular motions on the spot to fix pressure damage to the LCD screen.
Moreover, avoid placing heavy objects on the closed laptop lid, and consider using a protective laptop case when carrying your device.
Step 5: Screen Replacement
Screen replacement is the ultimate solution for severe and persistent white spots. It guarantees a return to optimal screen performance. Screen replacement offers a success rate of nearly 100% in resolving white spots caused by physical damage or manufacturing defects.
Begin by identifying your laptop model and a compatible replacement screen. Power off the laptop, carefully disassemble the laptop screen, and install the new one. Calibrate if necessary and thoroughly inspect functionality while documenting the process to maintain warranty validity.
Frequently Asked Questions
How to Fix Pressure Spots on LCD Screen?
To fix pressure spots on an LCD screen, start by gently rubbing the affected areas using a soft, non-abrasive cloth and applying light circular pressure. This method can improve mild pressure spots. Mild pressure spots can be improved through this method, but severe or stubborn spots may require screen replacement.
Why My Laptop Screen Has Black Spots?
Laptop screens, having millions of pixels, can develop black spots due to several reasons, including dead pixels or screen damage. Dead pixels are unresponsive to electrical signals and can appear as black spots. The occurrence of black spots may be due to pressure, impact, or manufacturing defects.
Can Pressure Marks on Macbook Pro Screen Can Be Fixed?
Pressure marks on a MacBook Pro screen may or may not be fixable. Success rates for the gentle rubbing method can range up to 40%. However, for severe pressure marks, especially those affecting the MacBook Pro’s Retina display, it’s advisable to seek professional assistance from Apple or an authorized service provider, as screen replacement might be necessary.
Can I Fix My Monitor Pressure Marks by Myself?
Yes, if you are an expert in fixing then you can easily do it by yourself. Make sure you have all the required equipment with in-depth knowledge of components before applying the techniques. Otherwise, it would be better to take the assistance of a professional.
Bringing it Together
In conclusion, laptop screen pressure damage can manifest in various ways, from the appearance of laptop screen bright spots to laptop screen corner white patches. When confronted with these screen issues, it’s crucial to exercise caution and consider the severity of the damage.
While some minor pressure damage and bright spots or white marks may respond to DIY (Do it Yourself) techniques such as gentle massaging, the effectiveness varies. Severe damage, especially in the form of corner white patches and black spots, often necessitates professional intervention or screen replacement to ensure optimal display quality and functionality.
Always prioritize the safety of your laptop screen and seek appropriate solutions based on the extent of the damage. This is how to pressure marks from laptop screen in easy steps which we mentioned earlier.
Last modified: October 6, 2023